
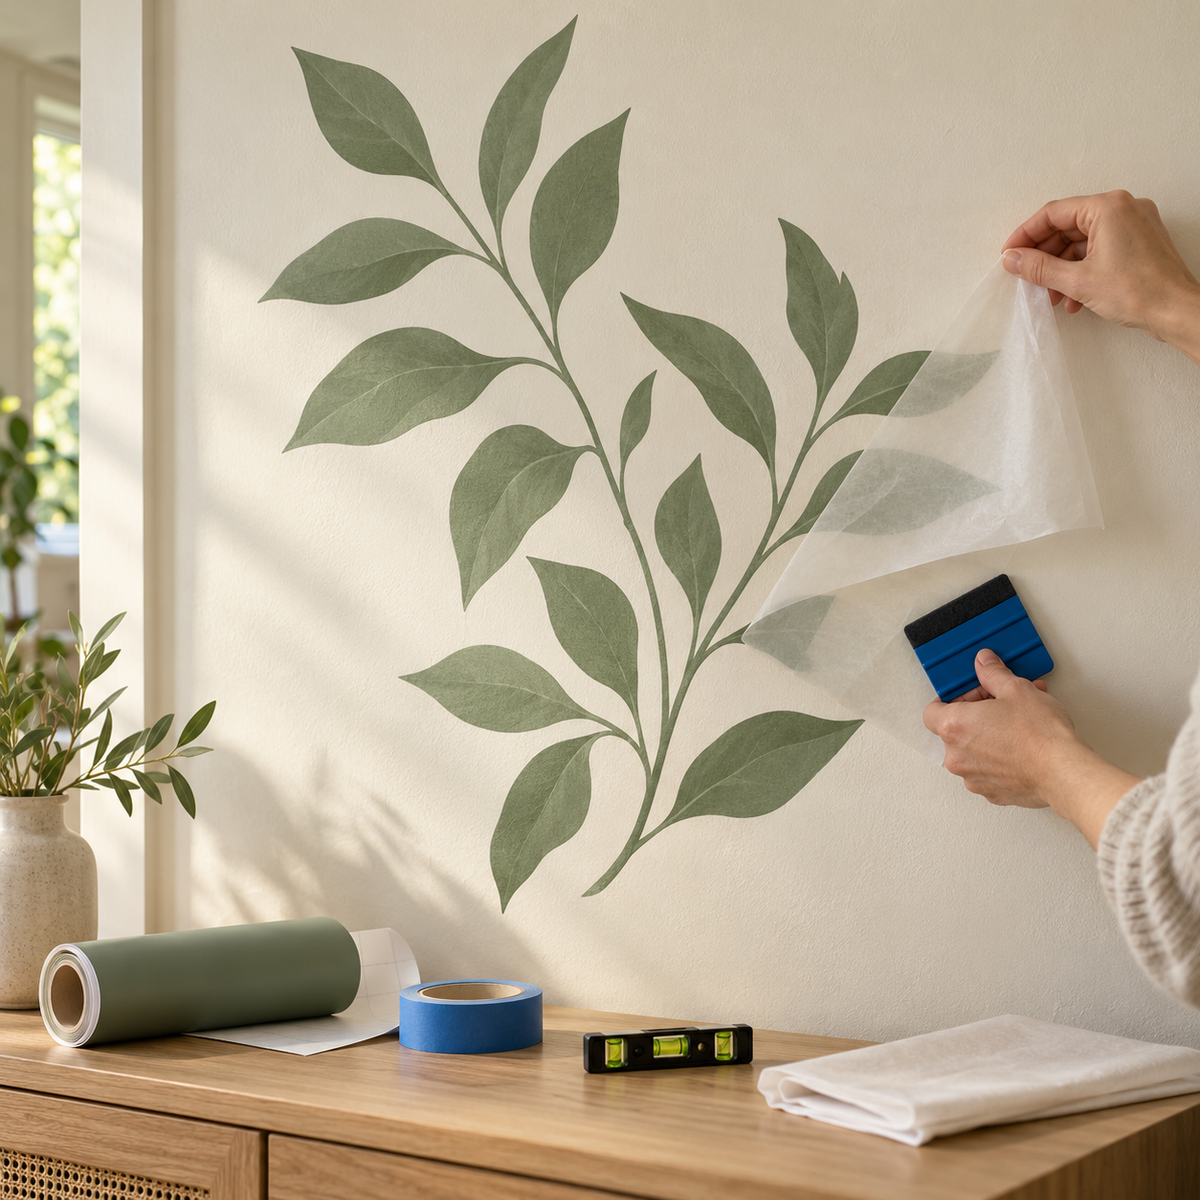
Wall decals are one of the easiest ways to change the look of a room, a classroom, or a storefront without committing to paint or wallpaper. The catch is that the wrong vinyl can pull paint off when you remove it, and a large decal can wrinkle or bubble if you rush the install. This guide shows you how to make wall decals with removable vinyl, from choosing the material to taking it down cleanly years later.
Why Removable Matte Vinyl Is the Right Choice
Permanent vinyl is built to grab hard and stay put outdoors. That is great for a mailbox, but on drywall it can lift paint when it comes off. For interior walls, you want a removable adhesive. Our removable adhesive vinyl collection is the place to start, and the most popular film in it is ORACAL 631 removable vinyl.
ORACAL 631 is a matte vinyl with a water-based removable adhesive, made for indoor uses such as wall decals, stencils, and temporary signage. Two features make it ideal for walls:
- Matte finish, no glare. Wall decals are seen from many angles under overhead lights and windows. A glossy film can catch reflections and read as a shiny sticker. Matte 631 blends into the wall so the design looks painted on.
- Clean removal. The removable adhesive is designed to come off without the aggressive bond of a permanent film, so you can redecorate when tastes or seasons change.
Know Your Wall Before You Cut
The wall surface has as much to do with success as the vinyl does. Check these three things before you design anything.
Fresh paint needs to cure
Paint can feel dry to the touch within hours, but it keeps releasing solvents and hardening for much longer. Vinyl applied too soon can trap those gases, causing bubbles, or bond poorly to the soft surface. A common rule of thumb is to wait a few weeks after painting before applying vinyl, and to check the paint manufacturer's cure time on the can.
Flat vs. satin vs. semi-gloss
Smoother, slicker paints give vinyl the most contact area. Satin, eggshell, and semi-gloss finishes generally work well. Flat or matte paints can be chalky and porous, so the adhesive may not grip as firmly. Always do a small test piece in an inconspicuous area and leave it for a day or two before committing to a big design.
Textured walls
Orange-peel and knockdown textures reduce the amount of surface the adhesive touches. Light texture is usually workable if you burnish carefully. Heavy texture is tough for any vinyl. Fine details and thin lines will not seat into the valleys, so choose bolder designs with wider strokes. Also, avoid walls with wallpaper, fabric coverings, or damp conditions like shower surrounds. Our surface compatibility guide for adhesive vinyl goes deeper on what sticks and what does not.
Sizing a Large Wall Decal
Measure the wall and mark the area you want the decal to occupy with painter's tape. Stand back across the room to judge proportions. Wall art almost always looks smaller once it is up than it did on a screen, so do not be afraid to go bigger than you first planned.
- Keep text large enough to read from the spot where people will usually see it, such as a doorway or a seat.
- Leave breathing room around furniture, outlets, and light switches.
- For quotes, center the design on the furniture below it (a bed or sofa) rather than the wall itself, which often looks more balanced.
Tiling Designs Larger Than Your Cutter
If your design is wider than your vinyl roll or your machine, split it into panels. There are two common approaches:
- Split between elements. For lettering, break the design between words or letters so each section is a complete unit. This is the cleanest approach because there is no seam inside any shape.
- Overlap tiles. For a solid graphic, add a small overlap (often around a quarter inch) where panels meet, and add registration marks so you can line them up on the wall. Apply the bottom or left panel first and lay the next panel over the overlap.
Label each panel on its backing paper (for example, "1 of 4, top left") before you weed so nothing gets mixed up during installation.
Cut, Weed, and Apply Transfer Tape
Cut 631 colored side up and run a test cut first to confirm your blade depth. Weed the design, leaving a little extra vinyl at the borders of each panel to help with alignment. Then cover it with transfer tape. Because 631 has a softer, removable adhesive, a medium-tack or lower-tack tape usually releases more easily than a high-tack one. Browse our transfer tape options, and if you need a refresher on the process, follow our guide to using transfer tape with adhesive vinyl.
Install with the Hinge Method
For anything bigger than a sheet of paper, the hinge method is the most reliable way to get a straight, bubble-free wall decal.
- Wipe the wall gently with a slightly damp cloth to remove dust, then let it dry completely. Skip harsh cleaners that leave residue.
- Tape the masked decal to the wall and use a level to check that it is straight.
- Run a strip of painter's tape across the center of the decal to form the hinge.
- Lift one side, peel the backing to the hinge, cut it away, and squeegee from the hinge outward.
- Remove the hinge, repeat with the other half, and squeegee from the center out.
Burnish Well, Then Peel Slowly
Burnishing presses the adhesive into the paint so it holds. Go over the entire decal with firm, overlapping squeegee strokes, paying extra attention to small letters and thin lines. On textured walls, a soft cloth wrapped around your fingertips helps press vinyl into the low spots.
Peel the transfer tape back on itself at a sharp, low angle, nearly flat against the wall. If any part of the design lifts with the tape, lay it back down, burnish again, and continue. Rushing this step is the most common cause of torn letters.
Removing Wall Decals Without Damaging Paint
Removable vinyl is designed to release cleanly, but technique still matters, especially with older decals or delicate paint.
- Warm it up. A hair dryer on low or medium softens the adhesive and makes the vinyl more flexible.
- Peel low and slow. Lift a corner with your fingernail or a plastic scraper and pull the vinyl back over itself, nearly parallel to the wall, rather than straight out.
- Stop if paint lifts. If you see paint coming with it, add more heat and slow down.
- Clean up residue. Most residue wipes off with warm soapy water. Test any adhesive remover on a hidden spot first.
For more techniques on all kinds of surfaces, see our post on how to remove old adhesive vinyl from walls, cups, and hard surfaces.
Frequently Asked Questions
What is the best vinyl for wall decals?
ORACAL 631 is a favorite because it has a matte, glare-free finish and a water-based removable adhesive designed for indoor uses like wall decals.
How long should I wait after painting to apply a wall decal?
A common guideline is a few weeks, but check the cure time listed by your paint manufacturer. Applying too soon can cause bubbles or poor adhesion.
Will removable vinyl stick to textured walls?
It can work on light textures if you burnish carefully and use bold designs. Heavily textured walls make it hard for any vinyl to make full contact.
Can I reuse a wall decal after removing it?
Usually not. Vinyl tends to stretch and curl when it is peeled, so plan to cut a fresh decal for a new location.
Make Your First Wall Decal
Once you understand how to make wall decals with removable vinyl, you can transform nurseries, offices, and retail spaces in an afternoon and change them again whenever you like. Pick up ORACAL 631, transfer tape, and a good squeegee at Atlanta Vinyl and start designing.