
What Is Transfer Tape and Why Do You Need It?
If you've cut adhesive vinyl with your cutting machine and tried to apply it directly to a surface, you know the challenge: the individual letters or pieces of your design are still attached to the backing material but they're not connected to each other. How do you move the whole design onto your surface as a single unit while keeping everything perfectly spaced and aligned?
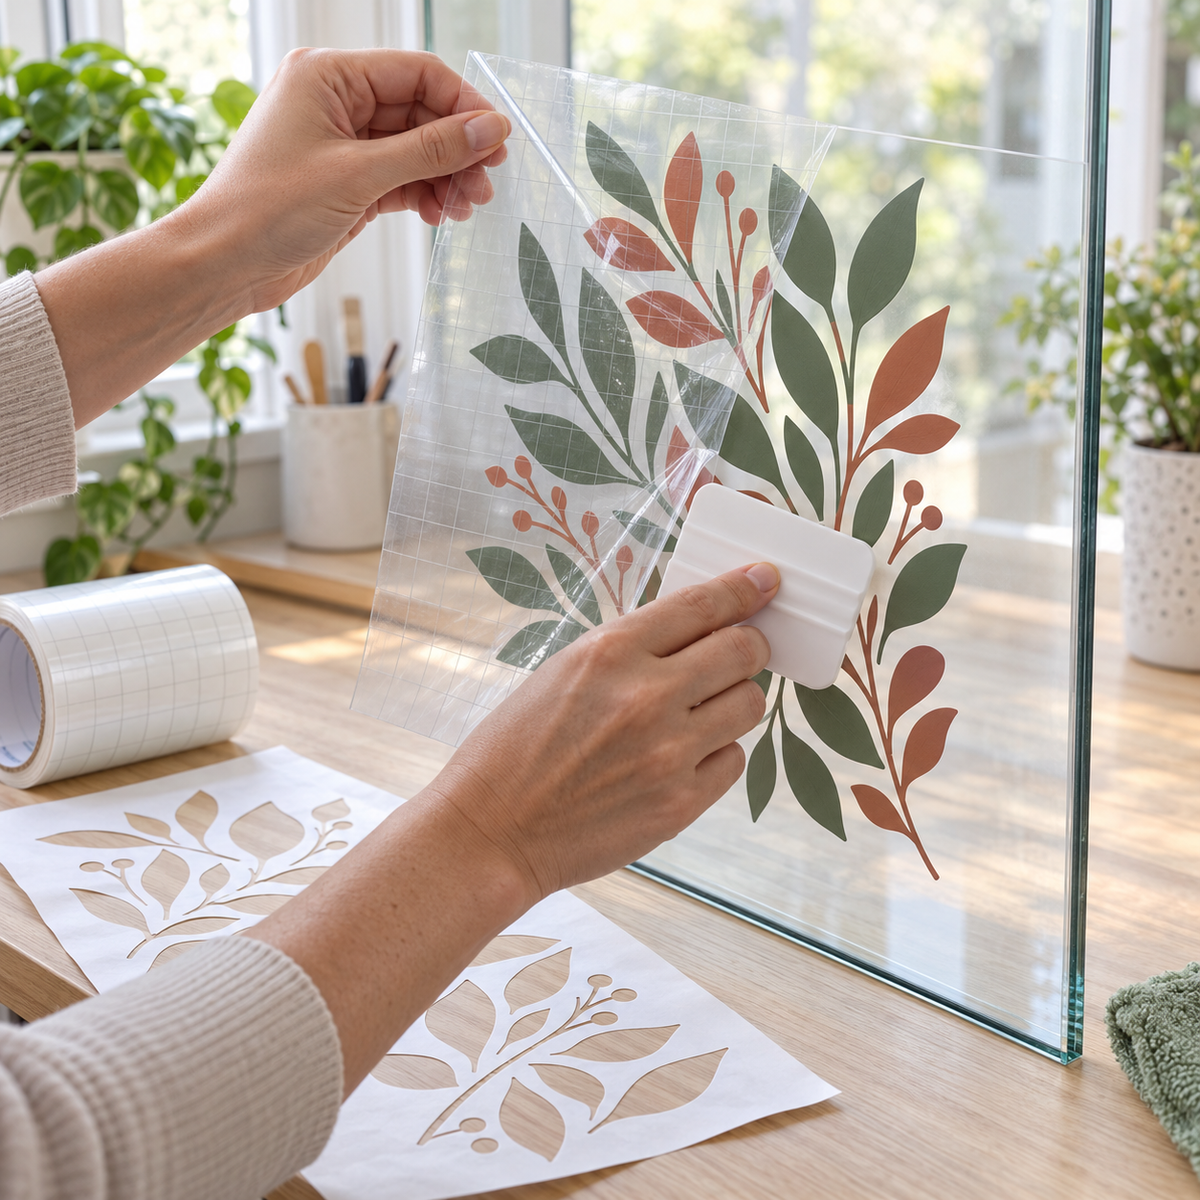
That's exactly what transfer tape does. Transfer tape is a clear or semi-transparent film with a light-tack adhesive on one side. It temporarily holds your cut vinyl design together so you can lift it off the backing material, position it on your surface, and apply it as one piece — then remove the tape to reveal your cleanly applied design.
Types of Transfer Tape
Not all transfer tape is the same. The main types you'll encounter are:
- Paper transfer tape: An opaque, paper-based tape that's affordable and works well for most adhesive vinyl. The downside is that it's harder to see your design through it for precise alignment.
- Clear/transparent transfer tape: See-through tape that makes alignment much easier. Great for precise placements where you need to match up to guidelines or other designs on the surface.
- Low-tack transfer tape: For delicate or intricate vinyl designs, low-tack tape lifts the vinyl without distorting fine details or small letters.
- High-tack transfer tape: For textured surfaces or stubborn vinyl types that don't transfer easily. Use carefully on delicate vinyl — it can pull up fine details if overused.
Step-by-Step: How to Apply Transfer Tape to Vinyl
- Cut and weed your vinyl: Before applying transfer tape, your vinyl design should be fully cut on your vinyl cutter and weeded (all excess vinyl removed from inside letters and around the design).
- Cut your transfer tape: Cut a piece of transfer tape roughly the same size as your vinyl design — or slightly larger.
- Apply tape to vinyl: Lay the transfer tape (adhesive side down) onto the top of your weeded vinyl design. Smooth it down firmly from the center outward using a squeegee or credit card to eliminate air bubbles and ensure full contact.
- Rub down firmly: Press your squeegee over the entire design, applying firm pressure, to ensure the tape has gripped the vinyl properly.
- Peel the backing: Slowly peel the backing paper/liner away at a low angle, pulling it back on itself rather than straight up. Check that all vinyl is transferring to the tape and not staying on the backing.
- Position on the surface: Hold the transfer tape with the vinyl face-down and position it on your surface. Use the see-through tape (if you're using clear tape) to align precisely.
- Apply and squeegee: Once positioned, lay the transfer down and squeegee firmly over the entire design, working from center to edges.
- Peel the transfer tape: Slowly peel the transfer tape back at a low angle. If any vinyl lifts with the tape, lay the tape back down and squeegee again before continuing.
Troubleshooting Common Transfer Tape Problems
- Vinyl stays on the backing instead of transferring to the tape: Your transfer tape may not be tacky enough, or you may not have rubbed it down firmly enough. Try a higher-tack tape or apply more pressure with your squeegee.
- Vinyl pulls off the surface when removing the transfer tape: The transfer tape is too tacky, or the surface has low adhesion. Use a lower-tack tape, or apply the vinyl, peel the tape, and then immediately press the vinyl back down onto the surface.
- Bubbles appear after application: Air bubbles between the vinyl and the surface are normal for large pieces. Use a pin or fine needle to puncture small bubbles and press the air out. For curved items like cups and tumblers, see our guide to applying adhesive vinyl to curved surfaces without bubbles.
- Intricate pieces aren't transferring cleanly: Very fine details and small letters can be tricky. Try the hinge method: tape one edge of the design, lift the other, and apply the vinyl working from the hinged edge.
The Hinge Method for Precise Placement
For precise placement on large designs or when accuracy is critical, the hinge method is invaluable. (For large window or sign work, it's also worth comparing the wet method vs. dry method for applying adhesive vinyl.)
- Mark your placement guides on the surface (use a pencil or removable chalk).
- Apply transfer tape to your vinyl design.
- Position the design over the surface and tape the top edge down with regular tape to create a hinge.
- Lift the bottom of the design away from the surface (like opening a book).
- Peel the backing from the vinyl.
- Slowly lower the vinyl onto the surface, smoothing from the hinged edge downward.
- Remove the hinge tape and squeegee the full design.
Shop Adhesive Vinyl and Supplies at Atlanta Vinyl
Atlanta Vinyl carries a full range of adhesive vinyl including Oracal 651, Oracal 631, and more, along with transfer tape and other application accessories. Whether you're new to vinyl crafting or a seasoned pro, we have everything you need to get clean, professional results.