
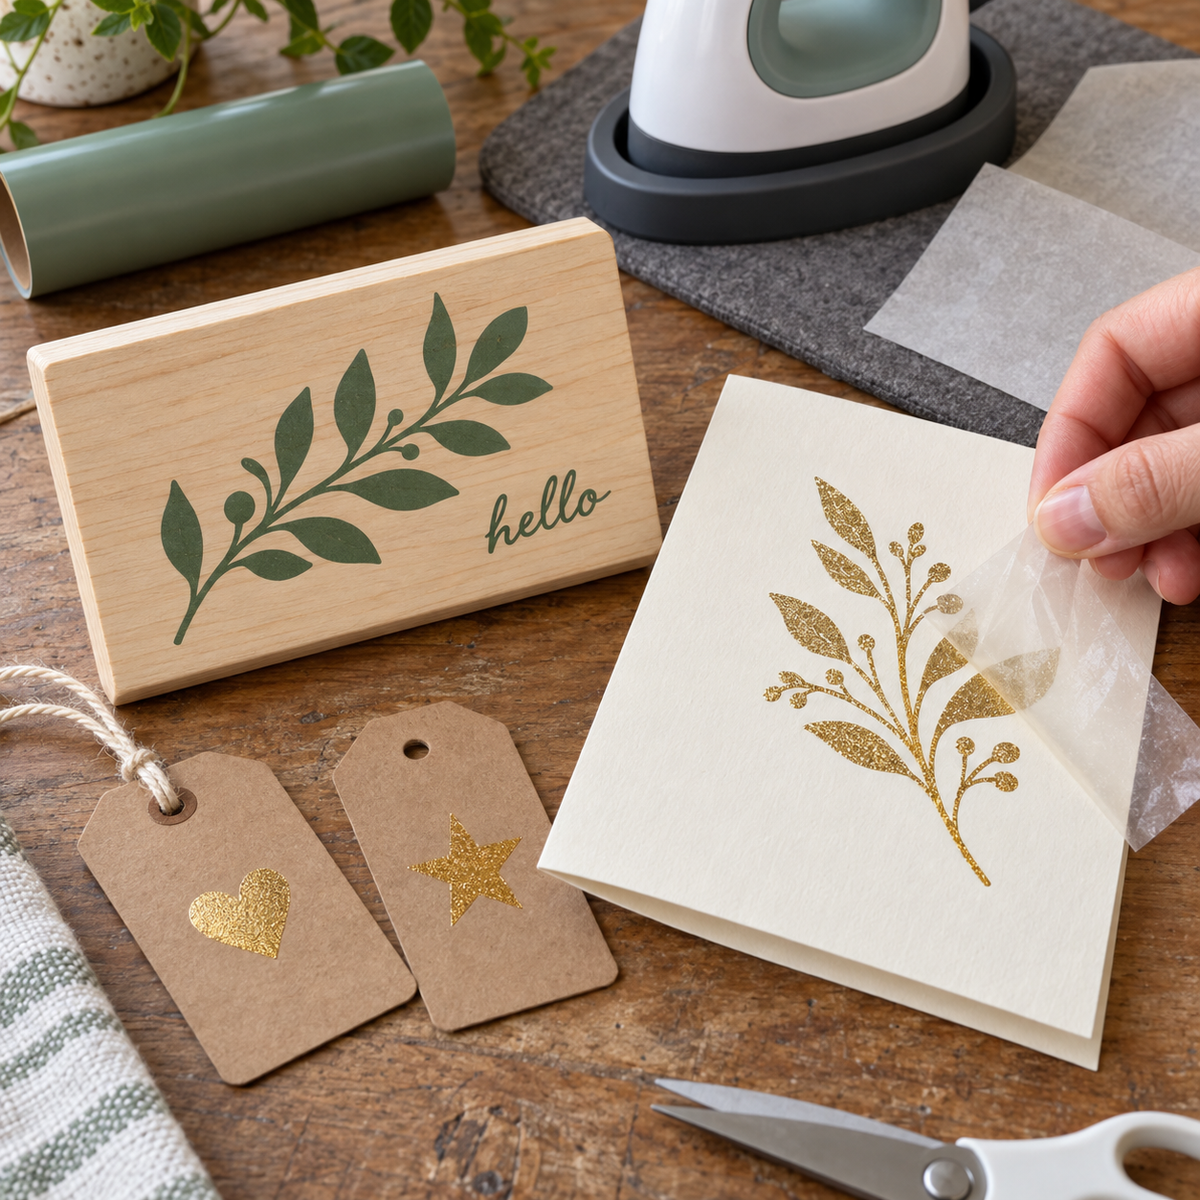
Heat transfer vinyl is designed for fabric, but crafters have been pressing it onto wood signs, greeting cards, and paper gift tags for years. So can you use HTV on wood, paper, or cardstock? Yes, with some important caveats. The surface needs to accept the adhesive, survive the heat, and stay flat under pressure, and not every board or sheet will.
Why HTV Can Work on Non-Fabric Surfaces
HTV uses a heat-activated adhesive. When it is warmed and pressed, the adhesive softens and flows into the texture of the surface below. On fabric, it grips the fibers and weave. On unfinished wood and uncoated paper, it can grip the grain and paper fibers in a similar way. That is why porous, textured surfaces tend to work, while slick, sealed, or coated surfaces often do not.
If you have already read our guide on applying HTV to canvas bags, aprons, and other non-apparel fabrics, you know the basic idea: when you move beyond tees, the surface dictates the settings. Wood and paper push that idea further because they are not textiles at all.
HTV on Wood
Which Wood Works Best
Raw, unfinished wood is the best candidate. Its open grain gives the adhesive something to grab. Smooth-sanded plywood, basswood, pine plaques, and wood slices are popular choices for signs, ornaments, and home decor.
Sealed, stained, varnished, or painted wood is less predictable. A glossy finish can prevent the adhesive from bonding, and heat can soften or blister some paints and sealers. Chalk-style and matte paints sometimes accept HTV, but you will only know by testing on a scrap with the same finish.
How to Prep Wood
- Sand lightly with fine-grit sandpaper so the surface is smooth but still slightly textured.
- Remove all dust with a dry cloth or tack cloth. Dust is a common reason HTV lifts from wood.
- Make sure the wood is dry. Moisture or sap in the wood can steam under heat and interfere with adhesion.
- Pre-heat briefly to drive out surface moisture, then let any steam clear before placing the design.
Pressing Tips for Wood
Wood does not compress the way a shirt does, so pressure behaves differently. A thick plaque in a heat press needs the pressure adjusted for its height, otherwise you will either crush the piece or barely touch it. For uneven pieces like wood slices, a household iron or handheld heat tool gives you more control, though you will need to work in sections and use steady, firm pressure.
Wood also holds heat and pulls it away from the vinyl, so the adhesive may need a little longer to activate than on cotton. Start with your vinyl's recommended settings from the product page, then adjust in small steps on a test piece. Watch for scorching, which shows as darkened areas around the design.
Textured specialty films can make a statement on wood. Our guide to Brick HTV and creating 3D designs explains how that thick, dimensional material works if you want raised lettering on a sign. Because it is much thicker than standard HTV, test it carefully on your wood before committing.
HTV on Paper and Cardstock
Heat transfer vinyl on paper and cardstock is popular for greeting cards, scrapbook pages, invitations, gift tags, and bookmarks. Glitter and metallic HTV in particular give paper projects a finish that is hard to match with ink.
Choose the Right Paper
Heavier cardstock handles heat and pressure better than thin printer paper, which can wrinkle, curl, or scorch. Uncoated, matte cardstock gives the adhesive more texture to grip. Glossy, coated, or photo papers often resist bonding, and some coatings can melt or cloud under heat.
Avoid Scorching
Paper scorches much faster than fabric, and once it browns, there is no undoing it. Protect your project by:
- Always using a cover sheet, such as a PTFE sheet, parchment, or kraft paper, between the heat source and the paper.
- Lowering pressure so the paper is not embossed or crushed. Light to medium pressure is usually enough.
- Shortening contact time and pressing in short intervals instead of one long press, checking the corner of the carrier in between.
- Testing on a scrap of the same cardstock first, especially with dark or colored stock that may show heat marks.
Iron or Heat Press?
Both can work. A heat press gives you even heat and consistent pressure across the sheet, which is ideal for flat cards. A household iron on a dry setting works well for small pieces, but keep it moving and avoid steam, which can warp the paper. Whichever you use, place the cardstock on a firm, flat, heat-safe surface.
Peeling the Carrier
Follow the peel instructions for your vinyl. If the vinyl starts lifting with the carrier, lay it back down, cover it, and apply a little more heat. Many crafters find a cool peel more forgiving on paper because the adhesive has fully set before the carrier comes off.
When Adhesive Vinyl Is the Better Choice
HTV is a great option when you want a soft, matte, glitter, or textured look that adhesive vinyl cannot match. But for many hard-surface projects, adhesive vinyl is simpler and more reliable:
| Project | HTV | Adhesive Vinyl |
|---|---|---|
| Raw wood sign with glitter lettering | Good option after testing | Also works |
| Painted or sealed wood sign | May not bond | Usually the better choice |
| Greeting card or gift tag | Good for glitter and metallic effects | Works for simple shapes |
| Outdoor sign | Not recommended | Use an outdoor-rated vinyl |
| Paint stencil on wood | Not suited | Use stencil film |
Adhesive vinyl needs no heat at all, so there is zero risk of scorching wood or paper. It bonds well to sealed and painted surfaces where HTV struggles. If you are new to it, start with our Adhesive Vinyl 101 beginner's guide, then browse our adhesive vinyl collection. For signs and long-lasting decals, ORACAL 651 permanent vinyl is a dependable workhorse.
Project Ideas to Try
- Glitter monograms on wood slice ornaments
- Name plaques and nursery signs on raw basswood
- Metallic lettering on wedding invitations and place cards
- Holiday cards with glitter accents
- Custom bookmarks and gift tags on heavy cardstock
For indoor decor that will be handled lightly, HTV holds up well. Items that will be handled often, cleaned, or exposed to moisture may be better suited to adhesive vinyl, or should be tested before you make them in volume.
Frequently Asked Questions
Does HTV stick to painted wood?
Sometimes. Matte and chalk-style paints may accept HTV, but glossy paint and sealers often prevent a good bond. Test on a painted scrap first, or use adhesive vinyl for painted surfaces.
Can you iron HTV onto cardstock?
Yes. Use a dry iron, a cover sheet, and light to moderate pressure. Keep the iron moving and press in short bursts to avoid scorching the paper.
Will HTV on wood last?
On properly prepped, unfinished wood used indoors, HTV can hold up well for decor. It is not meant for outdoor exposure or items that will be scrubbed often.
What heat settings should I use?
Start with the manufacturer's instructions on your vinyl's product page, then adjust in small steps on a test piece. Wood often needs a bit more time; paper needs less heat and pressure.
Expand What You Can Make
HTV on wood, paper, and cardstock opens up signs, cards, and decor you cannot create with apparel alone. Choose porous surfaces, protect them with a cover sheet, go easy on pressure, and test before every new material. When a surface is sealed, painted, or headed outdoors, reach for adhesive vinyl instead. Atlanta Vinyl carries both HTV and adhesive vinyl so you can pick the right material for every project.