
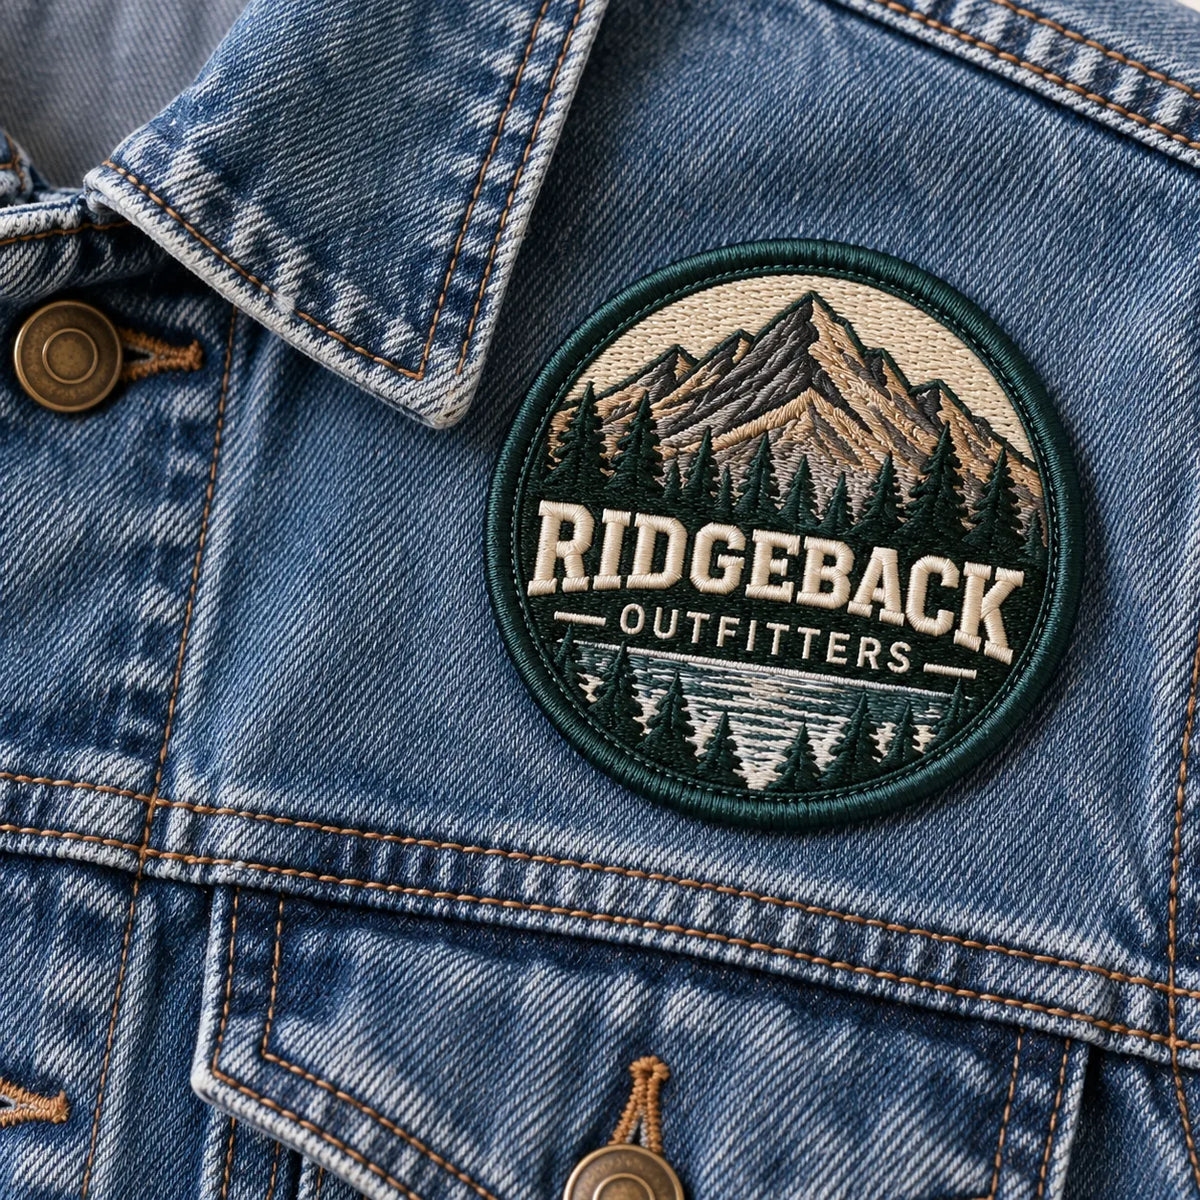
An iron-on patch is a patch with a heat-activated adhesive film on the back. Heat melts the film, pressure pushes it into the weave of the fabric, and cooling locks it there. Get any one of those three wrong and the patch peels in the wash.
This is how we tell customers to do it, whether they have a heat press or a household iron.
Before you start: is iron-on right for this garment?
This is the step people skip, and it is the one that causes most failures. Heat-activated adhesive needs a fabric that can take heat and has enough texture to grip.
| Works well | Do not iron on |
|---|---|
| Cotton | Nylon |
| Denim | Silk |
| Canvas | Leather |
| Twill | Waterproof jackets and windbreakers |
| Cotton-rich blends | Stretchy technical and performance fabric |
If your garment is in the right-hand column, stop. Order the patch with a sew-on back and stitch it, or order hook and loop and sew the soft loop side on instead. Both cost the same as iron-on, and neither puts heat anywhere near the fabric.
Heat press settings
A heat press is the reliable way to do this because it gives you even pressure and a temperature you can trust.
- Temperature: 300 to 350°F (150 to 175°C). Start at 300°F.
- Time: 15 to 20 seconds
- Pressure: medium to firm, even across the whole patch
- Pre-press the garment: 2 to 3 seconds, to drive out moisture and wrinkles
- Cover: parchment paper or a Teflon sheet over the patch
- Cool: let it cool completely before you touch it
Press readouts lie. A lot of presses run 20 to 30°F off what the display says. If the patch is not bonding at 300°F, raise the temperature before you extend the time. Longer at too low a temperature does nothing except scorch the garment.
Household iron settings
You can do this with a normal iron. It takes longer and you have to supply the pressure yourself.
- Setting: cotton or high, steam off and the water emptied
- Time: 30 to 45 seconds, moving slowly and pressing down hard
- Surface: a hard flat surface, not an ironing board. A board has give, and give means no pressure.
- Cover: a thin cloth or parchment paper between the iron and the patch
- Finish: turn the garment inside out and press the back of the patch area for another 20 to 30 seconds
That last step is the one most people miss and it makes a real difference. Heating from behind pushes the adhesive up into the fabric from the other side.
The actual steps
- Wash and dry the garment first, with no fabric softener. Softener leaves a residue that adhesive will not grip, and a new garment shrinks on its first wash, which will wrinkle around a patch already stuck to it.
- Pre-press or iron the spot for a few seconds to flatten it and drive out moisture.
- Position the patch, adhesive side down. Check it twice. Once this bonds you are not moving it.
- Cover with parchment paper or a Teflon sheet.
- Press at the settings above, firm and even.
- Let it cool completely. Do not peel a corner to check. A warm bond is not a finished bond.
- Test an edge gently once cool. If a corner lifts, cover and press again for another 10 to 15 seconds.


For anything that has to last, sew it too
Here is the part most patch companies will not tell you: on a garment that gets worn hard and washed often, iron-on alone is not a permanent bond. It is excellent for a jacket, a bag or a hat. On a work shirt that goes through industrial laundry every week, the adhesive will eventually give up.
The professional answer is both. Iron the patch on to hold it exactly in position, then run a stitch around the edge. The adhesive stops it shifting while you sew, and the stitching is what makes it permanent.
Caring for it afterwards
- Wait at least 24 hours before the first wash
- Wash the garment inside out, cold or warm, mild detergent
- No bleach, no dry cleaning
- Tumble dry low, or air dry, which is better
- Never put an iron directly on the patch again. Turn the garment inside out or lay a cloth over it.
Troubleshooting
The patch will not stick at all
Almost always not enough heat or not enough pressure. Raise the temperature 25°F, press harder, and make sure you are on a hard surface rather than a padded board. Also check the fabric: if it is nylon or a waterproof shell, it is never going to work.
It stuck, then lifted after a wash
The bond was partial. Re-press it with a cover sheet, and if the garment is something you wear constantly, stitch the edge.
The fabric scorched
Too hot, too long, or no cover sheet. Always use parchment or Teflon, and start at the low end of the range on anything synthetic.
The patch edge looks shiny
Adhesive squeezed out past the edge. Less pressure next time. The shine usually fades after a wash.
Which patches can be iron-on?
All six of ours are available with an iron-on back at no extra charge: embroidered, PVC, woven, chenille, leather and sublimated. Each product page lists the recommended settings for that specific material, since a rubber PVC patch and a plush chenille patch do not behave the same under a press.
One exception worth knowing: we do not recommend iron-on for chenille or leather on anything that gets washed. The adhesive holds, but the material itself is happier stitched.
Need patches to press?
Six materials, ten piece minimum, no setup fees, and a free mockup before anything is made.
Browse custom patches