
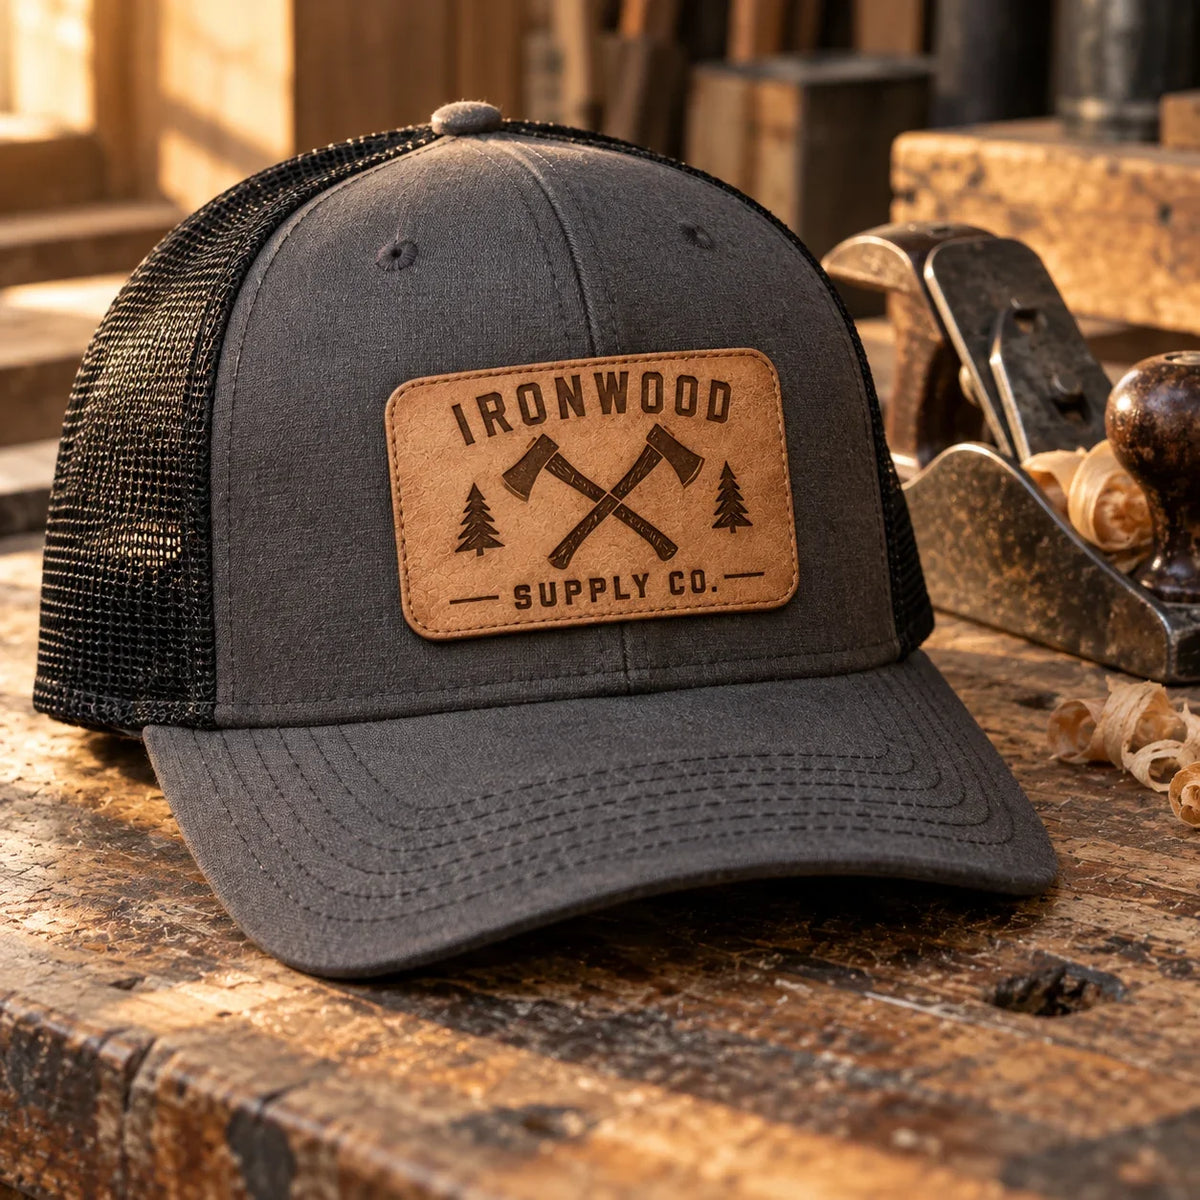
Hat patches are the single most common patch order we take, and the single most common thing people get wrong is the size. Too big and it bends over the crown seam. Too small and it looks like an afterthought.
Here are the numbers that work.
The short answer
| Hat style | Front patch | Notes |
|---|---|---|
| Trucker / five panel | 2.5 to 3 inches wide | The flat front panel is the most forgiving surface there is. 3 inches is the sweet spot. |
| Dad hat / unstructured | 2 to 2.5 inches wide | Softer panel, less flat. Go smaller and keep the shape simple. |
| Structured 6 panel | 2 to 2.5 inches wide | A center seam runs down the front. Keep the patch narrow enough to sit on one side of it, or pick a five panel. |
| Beanie cuff | 2 to 2.5 inches wide, 1.25 inches tall max | The cuff is short. Height is your constraint, not width. |
| Hat side panel | 1.5 to 2 inches wide | Small marks only. A monogram, an icon, a short wordmark. |
| Hat back / closure | 1.5 to 2 inches wide | Above the strap. Keep it shallow. |
The rule of thumb: a front hat patch should be about 2.5 to 3 inches wide and no more than about 2 inches tall. If your design is a tall rectangle or a circle bigger than 3 inches, it is going to fight the curve of the hat.
Shape matters more than size
A cap front is not flat. It curves side to side, and on a structured hat it curves front to back too. A wide, short patch follows that curve happily. A tall patch has to bend in the direction the hat does not want to bend, and the top edge lifts.
Best shapes for a hat front, in order:
- Rounded rectangle, wider than it is tall. The classic hat patch shape for a reason.
- Oval or shield. Same idea, a little more character.
- Circle up to about 2.5 inches. Fine, but a circle wastes the panel width you have.
- Tall or die-cut vertical shapes. Avoid on a hat front. Put these on a jacket instead.

Which material for a hat?
All six of ours go on hats. They do not all behave the same on a curved panel.
| Material | On a hat | 3 inch at 50 |
|---|---|---|
| Leather | The premium hat patch look, and the one most hat brands use. Thin, tonal, holds its shape on a curve. | $3.25 |
| Embroidered | The classic. 3D puff adds height for bold lettering. Flexible enough for any panel. | $5.00 |
| PVC | Waterproof and rigid. Excellent on a flat five panel, less happy on a soft dad hat. | $7.75 |
| Woven | Thin and flexible, follows the curve better than anything. Best pick if your logo has small text. | $4.00 |
| Sublimated | Full color, flat and flexible. The only option if your design is a photograph or a gradient. | $2.00 |
| Chenille | Thick and plush. Great on a beanie or a snapback with a flat brim, too bulky for a fitted cap. | $8.50 |
How to attach a patch to a hat
Three options, and the right one depends on whether you are making the hats or decorating one you own.
Sew-on
What hat brands do. It is permanent, it survives everything, and it looks intentional. If you are producing hats to sell, order sew-on and have them stitched.
Iron-on
Works on cotton, canvas and twill caps. It does not work on the mesh back of a trucker or on a nylon performance cap. A hat press or a small heat press platen makes this much easier than a household iron, because a flat iron cannot reach into a curved panel.
Hook and loop
Adds $0.25 per piece and lets people swap patches. Popular with tactical and outdoor brands, and useful if you want one hat to carry different marks.

Sizing your artwork before you order
Two things to check.
Measure your actual hat. Panel sizes vary more than you would think between blanks. Lay a ruler across the front panel between the seams and take the usable width, then subtract about half an inch on each side so the patch is not crowding a seam.
Print it at size first. Print your design at the exact dimensions on plain paper, cut it out, and hold it against the hat. It takes two minutes and it will change your mind more often than not. Almost everyone's first instinct is too big.
How we price size. Patches are priced on the longer of your two dimensions, rounded up to the next standard size. A 3 inch by 1.75 inch hat patch is priced at the 3 inch rate. Your width and height both go in the calculator on the product page and it tells you the rate before you add to cart.
Common hat patch mistakes
- Too tall. The most common one. Keep the height under about 2 inches on a front panel.
- Too much small text. At 3 inches wide there is room for a mark and a few words. A full paragraph of tagline will not read. If you must, use woven, which holds text at half the size embroidery needs.
- Ignoring the seam. A structured six panel has a seam straight down the middle of the front. Check your blank before you design.
- Iron-on onto mesh. There is nothing for the adhesive to grip. Sew it.
Ordering
Minimum is ten pieces per design on every type except sublimated, which starts at 25. No setup fee, no art fee, and a free digital mockup before anything is made, so if the size is wrong you will see it before it exists.
Price a hat patch
Set your exact width and height and see the cost instantly. Six materials to choose from.
See all patch types