
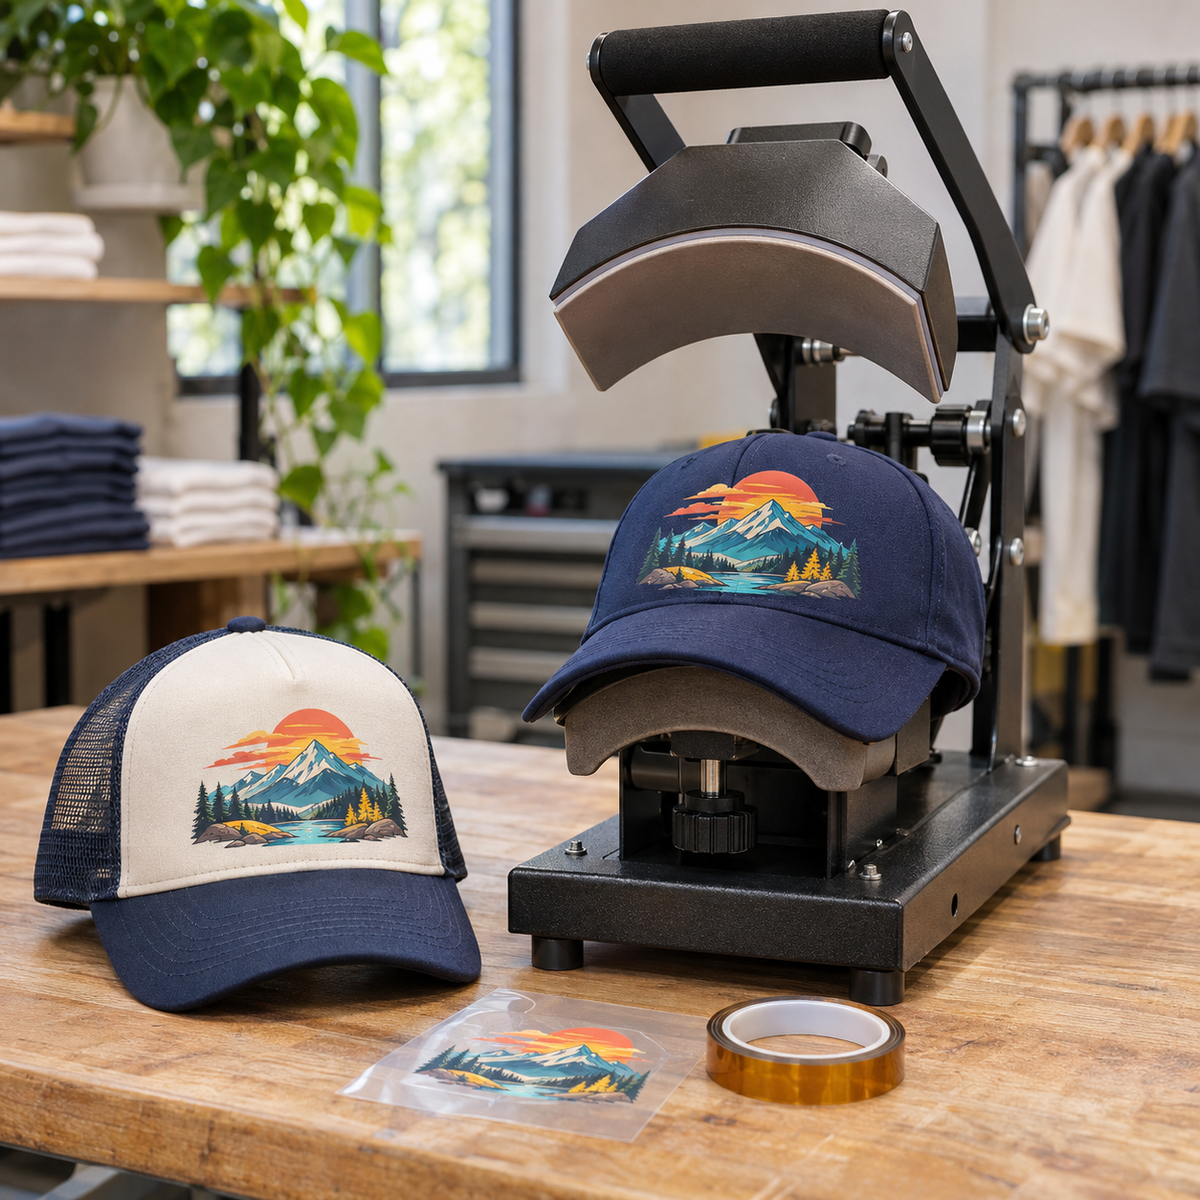
Putting DTF transfers on hats is one of the easiest ways to add full-color, detailed logos to caps without weeding or layering. But a curved, seamed hat front is a very different surface than a flat t-shirt, and many first attempts end with lifted edges or a crooked design. This guide covers how to press DTF on a hat, from choosing the right cap and sizing your artwork to the tools and pressing technique that give clean, durable results.
Why DTF Works Well on Hats
Direct-to-film transfers print full-color artwork, including gradients and fine detail, onto a film with an adhesive powder backing. There is nothing to weed, and one transfer can carry as many colors as your design needs. That makes DTF a strong choice for team logos, small business branding, and multi-color designs that would be tedious to cut and layer in HTV. If you prefer cut vinyl, our separate guide on HTV on hats and caps walks through that process.
Know Your Hat Before You Press
Not every cap behaves the same under heat. Before you press, check the construction and fabric.
Structured vs. Unstructured Caps
- Structured caps have a stiff buckram or foam-backed front panel that holds its shape. The firm surface gives you something to press against, but the curve is pronounced and the seams can be stiff.
- Unstructured caps, such as dad hats, have a soft front that collapses. They are easier to flatten, but you need to support the inside so the transfer gets even pressure.
Trucker Hats and Mesh Backs
Most trucker hats have a solid front panel with mesh on the sides and back. Keep your design on the solid front. If the front panel is foam, as on some classic trucker styles, it can compress or deform under too much heat or pressure, so test on a spare hat first.
Fabric Content
Caps come in cotton, cotton twill, polyester, poly blends, and performance fabrics. DTF bonds to a wide range of fabrics, but heat-sensitive synthetics can scorch or show press marks, and coated or water-resistant finishes can resist adhesion. Our guide to material compatibility for DTF transfers covers what to watch for, and you should always do a test press on any new hat style.
Sizing DTF Transfers for Hat Fronts
Hat fronts are small and curved, so modest sizing is key. A typical front-panel design falls in the range of roughly 2 to 2.5 inches tall and 4 to 5 inches wide, though the right size depends on the hat's profile and crown height. Low-profile caps need smaller designs, while high-crown trucker fronts can handle a bit more height.
- Measure the panel first. Use a flexible tape measure across the front, between the seams and above the brim.
- Leave breathing room above the brim and below the button so the design is not crowded.
- Favor wider, shorter layouts. Tall designs wrap farther into the curve and are harder to press flat.
- Consider splitting large logos into a front design plus a small side or back graphic.
For more on placement, see our HTV and DTF sizing and placement guide. When you order custom DTF transfers, you can gang several hat-sized logos together to make the most of each order.
Tools for Pressing DTF on Hats
Cap Press
A dedicated cap press has a curved upper heat element and a curved lower platen that match the shape of a hat front. It is the most reliable tool for consistent results, especially if you press hats regularly. Our cap heat presses collection includes options like the Hotronix Auto Cap, Hotronix 360 IQ Hat Press, Hyper Hat Press, and the MicroTec TITAN Dual Heat Slide Out Cap Press.
Interchangeable Cap Platens
Some heat presses accept interchangeable platens, including curved cap platens. If you already own a compatible press, adding a cap platen can be a practical step before buying a separate cap press.
Flat Heat Press With a Hat Pillow
If you only press hats occasionally, a flat press with a firm hat pillow or form placed inside the cap can work. The pillow supports the front panel and helps push it up into the heat platen. Expect to press in sections and to spend more time adjusting the hat between presses.
Other Supplies
- Heat-resistant tape to hold the transfer in place
- A cover sheet such as a PTFE sheet or parchment, if your transfer instructions call for one
- A lint roller to clean the panel before pressing
How to Press DTF on a Hat: Step by Step
- Read the transfer instructions. Time, temperature, pressure, and peel type vary by DTF supplier. Always follow the instructions provided with your transfers.
- Prep the hat. Remove any cardboard inserts or tags that will be in the way, lint-roll the front, and do a brief pre-press to remove moisture and smooth the surface. On a cap press, lock the hat in place so the front is pulled snug over the platen.
- Position and tape. Center the transfer between the seams and above the brim. Tape it down at the corners or edges with heat-resistant tape so it cannot shift.
- Press in sections if needed. On a curved front, press the center first, then rotate or reposition to press the left and right sides. On a 360-style or rotating cap press, the platen helps you move across the curve. Overlap slightly so no area is skipped.
- Peel as directed. Some DTF transfers are hot peel, others are warm or cold peel. Peeling at the wrong stage can lift ink or leave a rough surface.
- Finish press. Many decorators do a short final press with a cover sheet after peeling to help set the design and reduce shine. Check whether your transfer instructions recommend this.
Dealing With Seams and Curves
The center seam on six-panel caps is the most common trouble spot. A raised seam can lift the transfer so the areas on either side do not get full pressure. A few tips help:
- Choose five-panel or seamless-front caps when the design crosses the center.
- Pull the hat taut over the cap platen so the seam sits as flat as possible.
- Use a pressing pad or pillow so pressure reaches both sides of the seam. Our article on using a heat press pillow for zippers, buttons, and seams explains the idea.
- After the press, check the seam area. If an edge is lifting, cover it and press that section again briefly.
Common Mistakes to Avoid
- Oversized artwork that wraps too far into the curve and wrinkles.
- Skipping tape, which lets the transfer slide when the press closes.
- Too much heat on foam or synthetic fronts, which can warp or scorch the cap.
- Uneven pressure from pressing a curved hat on a flat platen without support.
For more general troubleshooting, our DTF tips and tricks for perfect application are a helpful companion to this guide.
Frequently Asked Questions
Can you put DTF transfers on hats with a regular heat press?
Yes, with a hat pillow or form inside the cap for support. You may need to press in sections. A cap press or cap platen gives more consistent results if you press hats often.
What size should a DTF transfer be for a hat?
A typical front-panel design is around 2 to 2.5 inches tall and 4 to 5 inches wide, but measure each hat style since low-profile and high-crown caps differ.
Do DTF transfers work on trucker hats?
Yes, on the solid front panel. Avoid the mesh, and test first if the front is foam, since foam can compress or deform under heat.
Why is my DTF transfer lifting near the hat seam?
The raised seam usually prevents full pressure on either side. Pull the hat taut, use a pressing pad, and re-press the affected section briefly with a cover sheet.
Start Pressing Better Hats
With the right sizing, a supported curve, and careful pressing, DTF transfers on hats can look sharp and hold up well. Order your custom DTF transfers and find the cap press that fits your workflow at Atlanta Vinyl.