
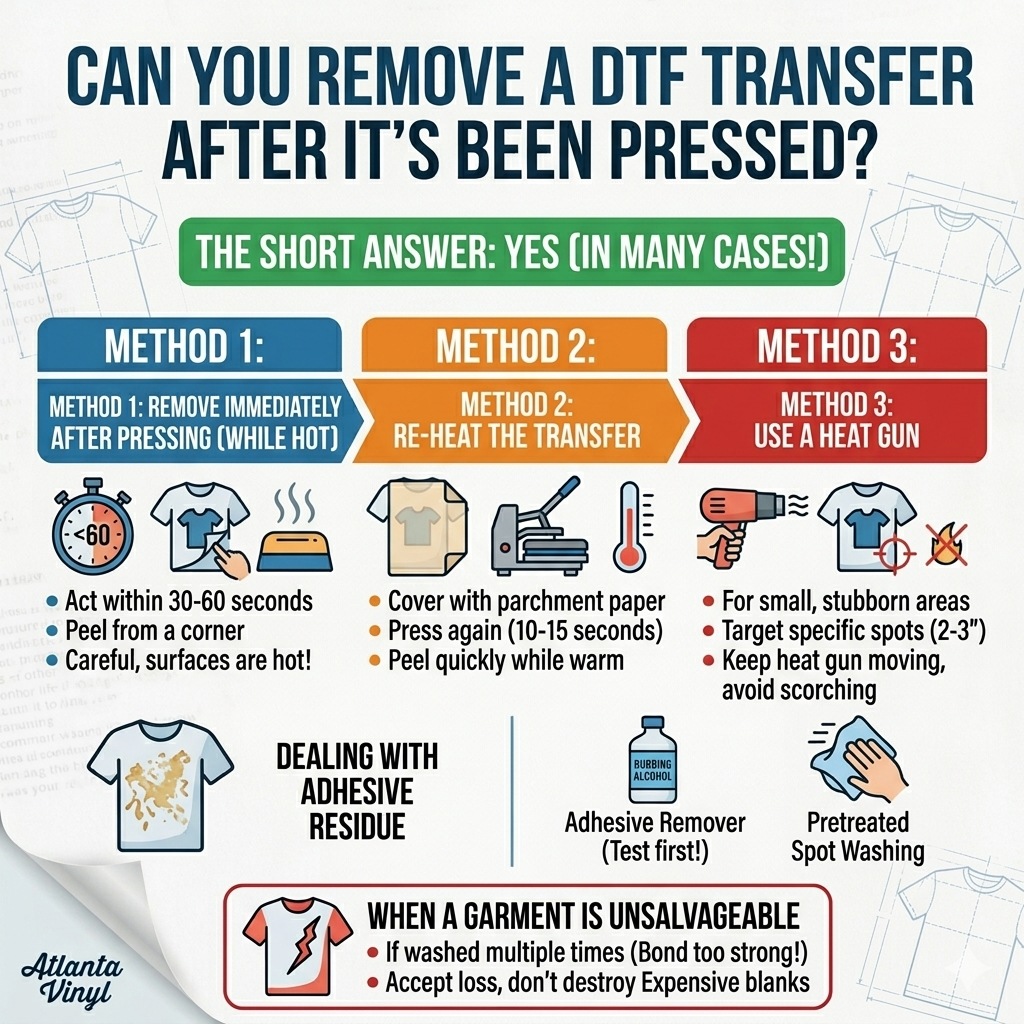
Can You Remove a DTF Transfer After It's Been Pressed?
It happens to everyone — a misaligned design, a wrong shirt, or a customer order that needs to be redone. One of the most common questions in the custom apparel world is: can you remove a custom DTF transfer after it's been heat pressed? The short answer is yes, in many cases you can — but it depends on how long ago it was pressed, what fabric it's on, and how aggressive you're willing to be with the removal process.
Why DTF Transfers Are Designed to Stay Put
DTF transfers bond to fabric using a hot melt adhesive powder that activates under heat and pressure. This adhesive is specifically engineered to create a durable, wash-resistant bond. The longer a transfer has been pressed and cooled — especially after washing — the stronger that bond becomes. This is great news for your finished products, but it means removal gets harder over time.
Method 1: Remove Immediately After Pressing (While Still Hot)
If you realize a mistake right after pressing, act quickly. While the adhesive is still warm and pliable, you may be able to carefully peel the transfer back. Use a peel bar or your fingers (be careful — the surface is very hot) to slowly lift a corner and pull the transfer back at a low angle. This works best within the first 30–60 seconds after pressing. The transfer may peel cleanly, or it may leave some adhesive residue.
Method 2: Re-Heat the Transfer
Once the transfer has fully cooled and bonded, re-applying heat is your best option for removal. Place a piece of parchment paper or a Teflon sheet over the transfer and press at the original temperature for 10–15 seconds. This reactivates the adhesive, making it soft and easier to peel. Work quickly and carefully after removing from the press — peel from one corner at a low angle while the adhesive is still warm.
Method 3: Use a Heat Gun
For small areas or stubborn sections, a heat gun can be used to target specific spots. Hold the gun 2–3 inches from the surface and heat for 10–15 seconds before attempting to peel. Be cautious not to scorch the fabric — keep the gun moving and avoid prolonged exposure to one spot.
Dealing with Residue After Removal
After removing a DTF transfer, you may find adhesive residue or a slight ghost of the design on the fabric. Here are a few ways to address it:
- Adhesive remover: Products like Goo Gone or rubbing alcohol can help dissolve remaining adhesive. Test on a hidden area first to ensure it doesn't damage the fabric.
- Repeat heating: Sometimes pressing a clean cloth or parchment paper onto the residue and peeling again removes more of the adhesive.
- Pretreated spot washing: A small amount of dish soap worked into the area and washed out can remove light residue on more durable fabrics.
When Is a Garment Unsalvageable?
If a transfer has been washed multiple times, the bond is extremely strong and removal will likely damage the garment. In these cases, it's better to accept the loss and move on than to risk destroying an expensive apparel blank. Always attempt removal on a freshly pressed garment when possible.
Tips to Avoid Bad Presses in the First Place
- Always use a placement guide or ruler before pressing.
- Use a heat-resistant tape or spray tack to temporarily position your transfer.
- Press a test piece first (our DTF press settings cheat sheet can help) when working with a new design or new blank.
- Double-check alignment with the shirt laid flat before closing the press.
While removing DTF transfers is possible, it's not always guaranteed — and the sooner you catch a mistake, the better your chances. Building good habits around placement and test pressing — and knowing the top mistakes to avoid with DTF transfers — will save you time, materials, and frustration. Atlanta Vinyl's transfers are designed for strong bonding, so when you press with intention, you'll rarely need to undo a thing.