Why Bubbles and Wrinkles Happen
UV DTF transfers bond instantly when they make contact with a surface — which is great for adhesion, but it also means mistakes are hard to reverse. Bubbles and wrinkles usually result from rushing the application process, applying to a dirty surface, or not using even pressure. The good news? With the right technique, you can get a flawless result every time.
Step 1: Prepare Your Surface
Surface prep is the most important step. Use an isopropyl alcohol wipe to clean the surface thoroughly, removing all oils, dust, and moisture. Let the surface dry completely — even a small amount of residue can prevent proper adhesion and cause bubbles.
Step 2: Measure and Plan Your Placement
Before you peel anything, decide exactly where you want the transfer to go. Use a ruler, tape, or visual guides to plan your placement. Once a UV DTF transfer touches the surface, it bonds — so thinking ahead saves you from frustrating mistakes.
Step 3: Peel the Backing Carefully
Slowly peel the backing liner away from the transfer film at a low angle. Avoid bending or folding the transfer as you peel. If the transfer sticks to the liner instead of the film, press it back down gently and try again more slowly.
Step 4: Use the Hinge Method for Larger Transfers
For larger UV DTF designs, the hinge method is a game-changer. Tape one edge of the transfer down lightly to anchor it in place. Then use a squeegee or credit card to apply the transfer from the anchored edge outward in smooth, firm strokes. This prevents the transfer from landing crooked or trapping air underneath.
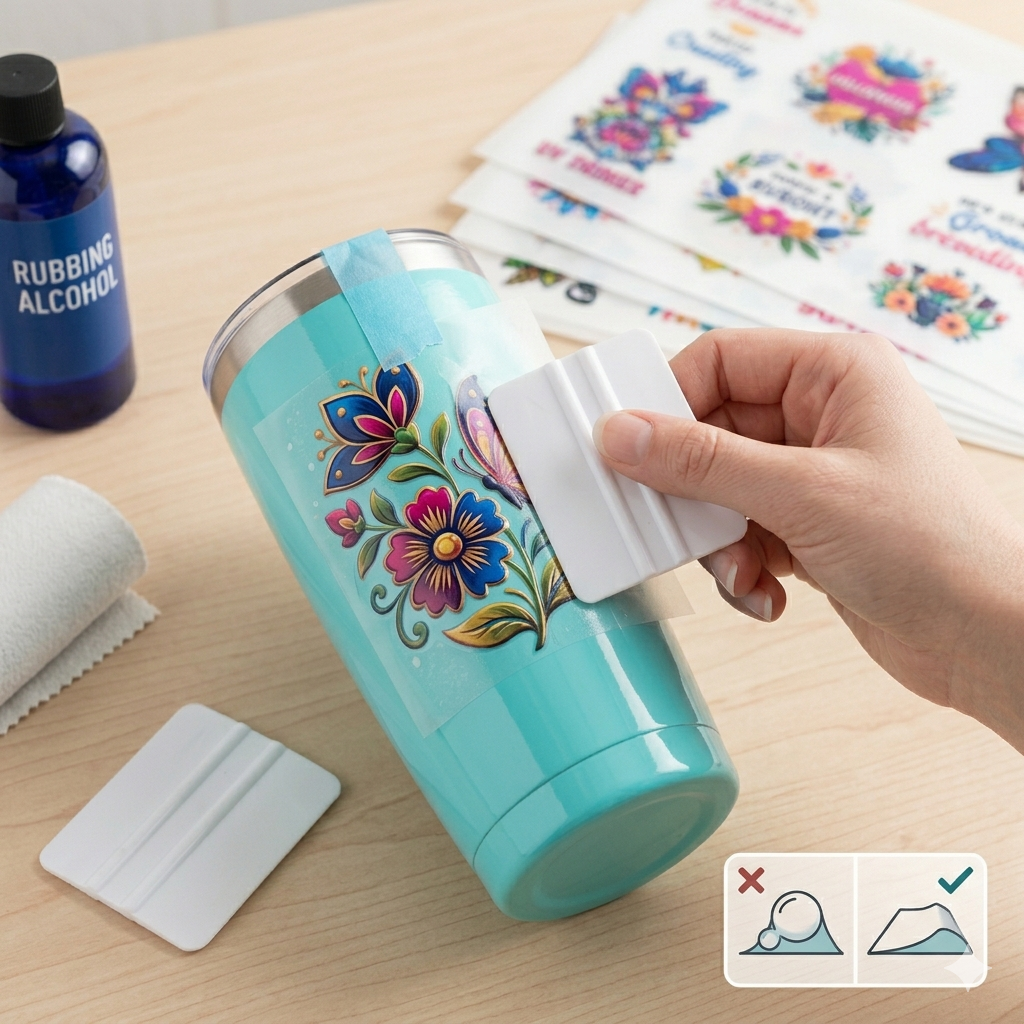
Step 5: Apply with a Squeegee
Once the transfer is in position, use a soft squeegee, credit card, or your thumb to press the transfer firmly from the center outward. Apply steady, even pressure and overlap each stroke slightly. Working outward from the center pushes any trapped air to the edges rather than locking it in the middle.
Step 6: Peel the Top Film
After pressing the transfer, peel the top clear film slowly at a low angle. If you see any portion of the design lifting, press it back down and wait 30–60 seconds before attempting to peel again. Peeling too fast or at a sharp angle is the most common cause of lifting edges.
Troubleshooting Common Problems
- Small bubbles after application: Press them with your fingernail or a squeegee — many small bubbles will disappear on their own within 24 hours.
- Edge lifting: Press the edge back down and apply pressure for 30 seconds. For persistent lifting, try a small amount of adhesive promoter.
- Wrinkles: Usually caused by the transfer landing unevenly. Use the hinge method on your next attempt to prevent this.
- Cloudy appearance: May indicate surface contamination. Remove the transfer, clean the surface, and reapply a fresh transfer.
Pro Tips for a Perfect Application
Work in a clean, dust-free environment. Avoid touching the adhesive side of the transfer with your bare fingers — oils from your skin can reduce bond strength. On curved surfaces like tumblers, apply the transfer in small sections, working around the curve gradually rather than trying to wrap it all at once. Practice on a test surface first when working with a new shape or size.
Where to Get Quality UV DTF Transfers
Using high-quality UV DTF transfers makes a big difference in how easily they apply and how well they last. Atlanta Vinyl carries UV DTF transfers printed with professional-grade inks and adhesives designed for clean, bubble-free application. Shop our selection to find the right transfer for your next project.