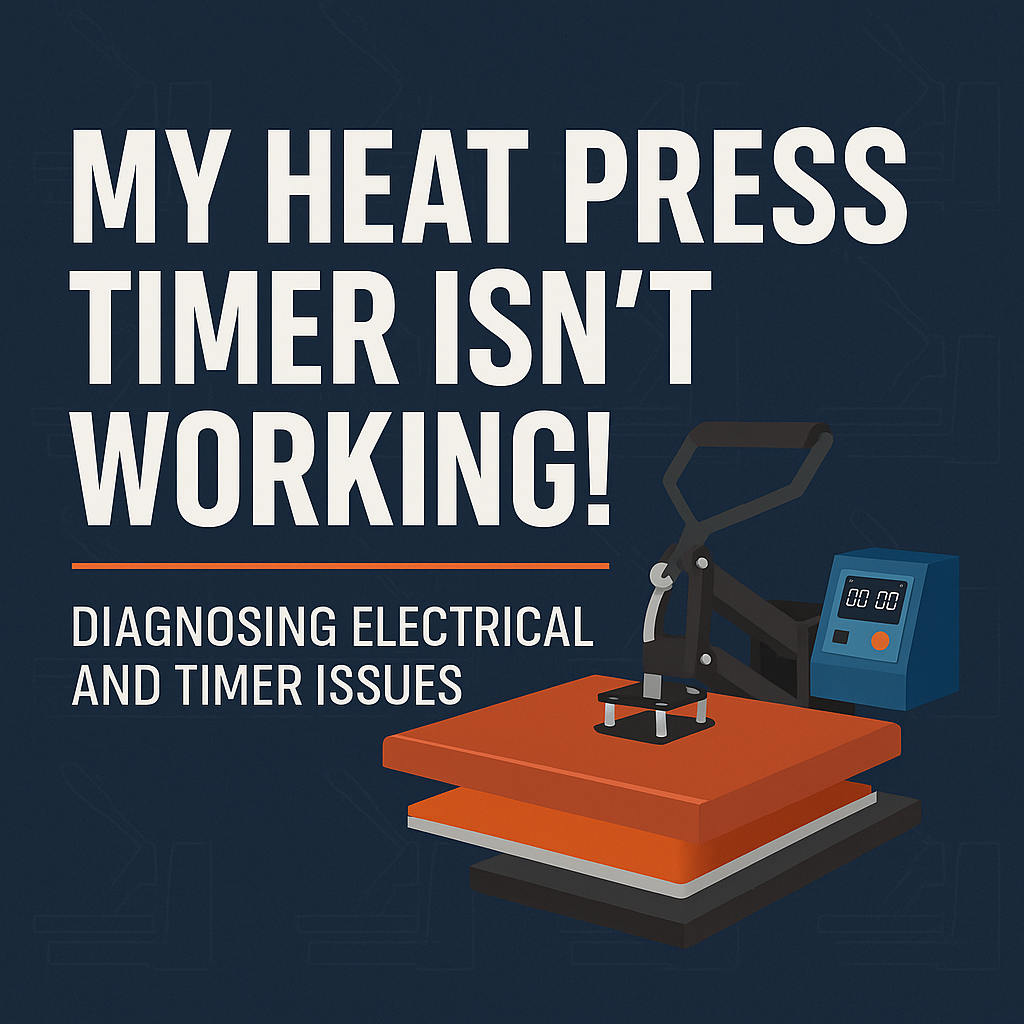
When your heat press timer stops working, it can throw off your production schedule and create unnecessary stress. Whether you're crafting custom apparel or pressing vinyl designs, accurate timing is crucial for high-quality results. But don’t worry—timer malfunctions are common and often fixable with the right knowledge.
This guide will walk you through the most common electrical and timer-related issues with heat presses and provide actionable steps to troubleshoot and resolve them. By the end, you’ll be able to identify the causes of the problem and keep your machine in peak condition for flawless operation.
Common Causes of Heat Press Timer Problems
A malfunctioning timer can stem from various issues, many of which are electrical or mechanical. Here’s a breakdown of the most frequent causes:
Faulty Timer Mechanism
The timer itself is a delicate component that can wear out over time. If the internal gears or switches that control the timer become damaged, it might stop counting correctly or fail to beep when finished.
Loose or Damaged Wiring
Heat presses rely on electrical connections to power the timer. Loose, fraying, or disconnected wires can interrupt the flow of electricity, causing the timer to malfunction or stop working altogether.
Defective Timer Control Board
Many modern heat presses use a digital control board that manages the timer and temperature settings. If the board is faulty, the timer may not respond to inputs or may shut off unexpectedly.
Power Supply Issues
Sometimes, the problem isn’t with the timer at all but with the machine’s overall power supply. Insufficient voltage or fluctuations in the electrical current can disrupt the timer’s function.
User Error or Incorrect Settings
It’s not uncommon for timer issues to be caused by improper inputs or user error. Double-check that the timer is set correctly and that all settings align with your project’s requirements.
Troubleshooting Timer Issues Step by Step
Before you panic or start replacing parts, follow these troubleshooting steps to identify the problem.
Check for Power Supply Problems
Start with the basics:
- Inspect the Power Cord: Ensure the cord is securely plugged into a functioning outlet. Look for signs of damage, like cuts or fraying, which could interfere with power delivery.
- Test the Outlet: Plug in another device to confirm the outlet is working correctly.
- Use a Voltage Tester: Measure the voltage being delivered to your machine. Most heat presses require a consistent 120V or 240V supply, depending on your model.
If the power supply is inconsistent, consider using a surge protector or contacting an electrician to address voltage concerns in your workspace.
Examine the Timer Mechanism
If the power supply isn’t the issue, turn your attention to the timer:
- Manual Timers (Dial Timers): Check if the dial turns smoothly and clicks into place. If it feels stuck or loose, the internal mechanism may need repair or replacement.
- Digital Timers:
-
- Ensure the display lights up and responds when you press buttons.
- Check for error messages on the screen that might indicate the issue. Refer to your machine manual for code explanations.
If there’s no response, the problem might lie deeper in the control board or wiring.
Inspect Wiring Connections
Loose or damaged wiring is a common culprit behind timer malfunctions. Here’s how to check:
- Unplug the Machine for safety before opening it.
- Locate the Wires Leading to the Timer:
-
- Look for disconnected, frayed, or scorched wires.
- Secure any loose wires by reconnecting them firmly to the terminals.
- Replace Worn Wires if necessary. You can purchase replacement wiring from the manufacturer or a trusted supplier.
Test the Timer’s Functionality with a Multimeter
Using a multimeter can help you determine if the timer is functioning electrically. Here’s how:
- Set the multimeter to continuity or resistance mode.
- Connect the probes to the timer’s terminals.
- Activate the timer and watch for changes in the multimeter readings:
-
- If you don’t detect any continuity or resistance, the timer is likely defective and should be replaced.
Examine and Reset the Control Board
A defective control board may prevent signals from reaching the timer. Steps to troubleshoot:
- Inspect the Circuit Board:
-
- Look for visible damage, such as burnt components, loose solder connections, or corrosion.
- Reset the Board:
-
- Consult your machine’s manual for reset instructions. Some heat presses have a reset button or sequence to restore factory settings.
- If the control board doesn’t respond after resetting, you may need professional repair or replacement.
Contact the Manufacturer for Support
If you’ve exhausted the above steps and still can’t isolate the issue, reach out to the manufacturer. They may provide specific advice, supply replacement parts, or recommend certified technicians to service your heat press.
Tips for Maintaining a Functional Timer
Prevention is always better than repair. Here are some tips to maintain your timer and avoid issues down the road:
Keep the Machine Clean
Dust buildup inside the machine can interfere with electrical connections. Regularly remove dust and debris using compressed air or a soft brush.
Avoid Power Surges
Connect your heat press to a dedicated circuit or use a surge protector to minimize the risk of voltage fluctuations damaging the timer or control board.
Inspect Regularly
Periodically check the wiring, control board, and timer for signs of wear or damage. Address minor issues immediately to prevent more significant problems.
Follow Manufacturer’s Guidelines
Use the machine within its recommended settings and capacities. Overloading the press or excessive wear and tear can strain components like the timer.
Calibrate the Timer
Over time, even timers can lose accuracy. Test and recalibrate your timer annually, following instructions provided in the user manual.
When It’s Time to Replace the Timer or Heat Press
If troubleshooting doesn’t resolve the issue, replacing the faulty timer or upgrading your machine may be the best solution. Signs that replacement is necessary include:
- Timer malfunctions repeatedly despite repairs.
- Replacement parts are hard to find or prohibitively expensive.
- The machine lacks modern safety features, causing inefficiency or safety concerns.
Investing in a newer model with improved functionality and durability can save you time and money in the long run.
A timer may seem like a small component of your heat press, but its role is vital for accurate and efficient production. By identifying and addressing electrical and timer issues effectively, you can extend your machine’s lifespan, improve its performance, and ensure consistent, high-quality results in your projects.
Keep these troubleshooting tips and maintenance practices in your toolkit to stay ahead of potential problems. With a little care and attention, your heat press will continue powering your creative endeavors for years to come.